If your PC sounds like a jet engine or your frame rates are dipping in the middle of a match, your hardware is likely crying for help. Dust is a silent performance killer, insulating sensitive components and forcing fans to work overtime. Learning how to clean a graphics card safely is one of the most effective ways to restore like new performance and extend the lifespan of your most expensive component.
Whether you are performing a quick seasonal dusting or a deep dive thermal paste replacement, this guide covers every technical detail to ensure your GPU stays cool and quiet.
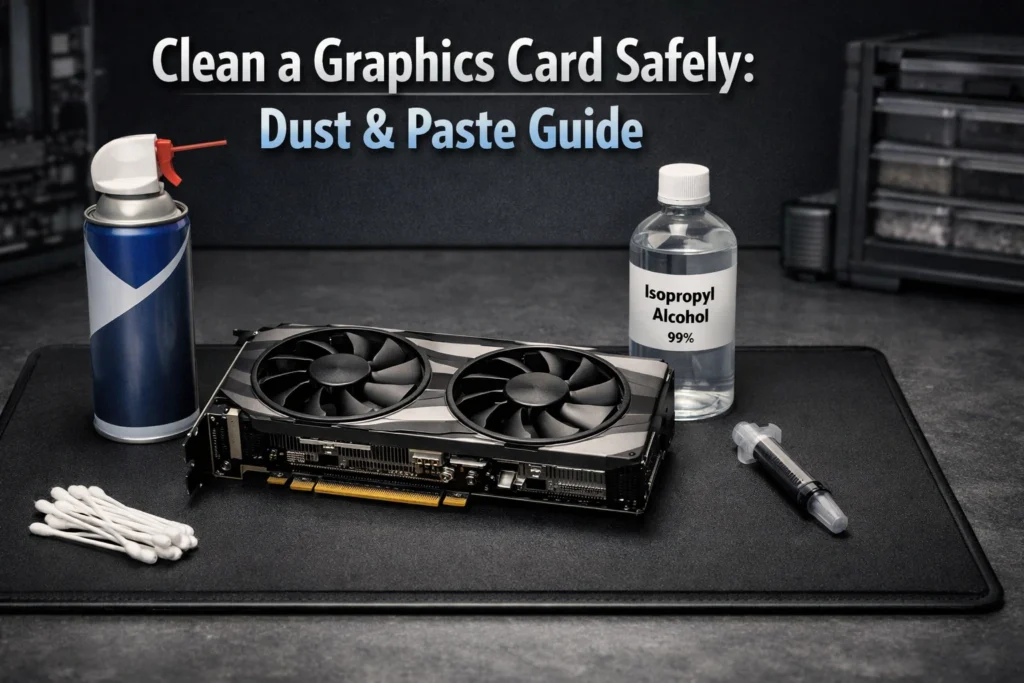
Preparation Tools You Need Before Starting
Before touching a single screw, you must prepare a clean, static free workspace. Modern PCBs are highly sensitive to Electrostatic Discharge (ESD), which can fry a card before you even plug it back in.
Essential Cleaning Supplies
For basic cleaning, you’ll need 90% or higher Isopropyl Alcohol (IPA). Lower concentrations contain more water, which takes longer to dry and can lead to corrosion. Pair this with medicalgrade cotton swabs and a lint-free microfiber cloth. If you are unsure of your hardware requirements, it is a good idea to check your graphics card specs on Windows 11 to see if your specific model is prone to high temperatures
Technical Tools
Most GPUs use Phillips #0 or #00 screws. A precision electronics toolkit is mandatory to avoid stripping the heads. A plastic spudger is also helpful for prying the heatsink away from the board without scratching the silicon.
ESD Safety
Ideally wear an antistatic wrist strap clipped to a grounded metal object. For a deeper understanding of why this matters, Intel’s guide on ESD safety explains how minute static shocks can damage silicon circuits.
Level 1 Quick Dust Removal No Disassembly
If your card is relatively new, a full teardown is overkill. You can achieve significant thermal gains simply by clearing the airflow paths.
The Right Way to Use Compressed Air
Never shake a can of compressed air or hold it upside down, as this can spray liquid refrigerant onto your board. Use short, controlled bursts. Start at the output vents and blow toward the fans to push the dust out the way it came in.
Why You Must Hold the Fans Still

This is a critical safety step. Allowing compressed air to spin your fans at high speeds can generate a back voltage (acting like a small generator) that can damage the fan header or the PCB. Furthermore, over spinning can prematurely wear out the fan bearings. Use a finger or a piece of tape to keep the blades stationary while cleaning.
Level 2 Deep Cleaning and GPU Teardown
When dust is caked deep inside the radiator fins, or if your “Hotspot” temperatures are 20°C higher than your average GPU temp, it’s time to open the card.
Managing Small Screws with a Screw Map
GPUs often use different screw lengths for the shroud, the backplate, and the GPU spring clamp. To avoid confusion, draw a rough outline of your card on a piece of paper. As you remove a screw, place it on the corresponding spot on your drawing.
Disconnecting Delicate Fan Cables
Once the screws are out, the heatsink will be connected to the PCB by 1–3 small fan and RGB cables. Never pull on the wires. Use a spudger or your fingernails to gently wiggle the plastic connector out of its header.
How to Replace GPU Thermal Paste Safely
Over 2 to 3 years, factory thermal paste often becomes “crusty” and loses its conductivity. Replacing it can drop temperatures by 5 to 10°C.
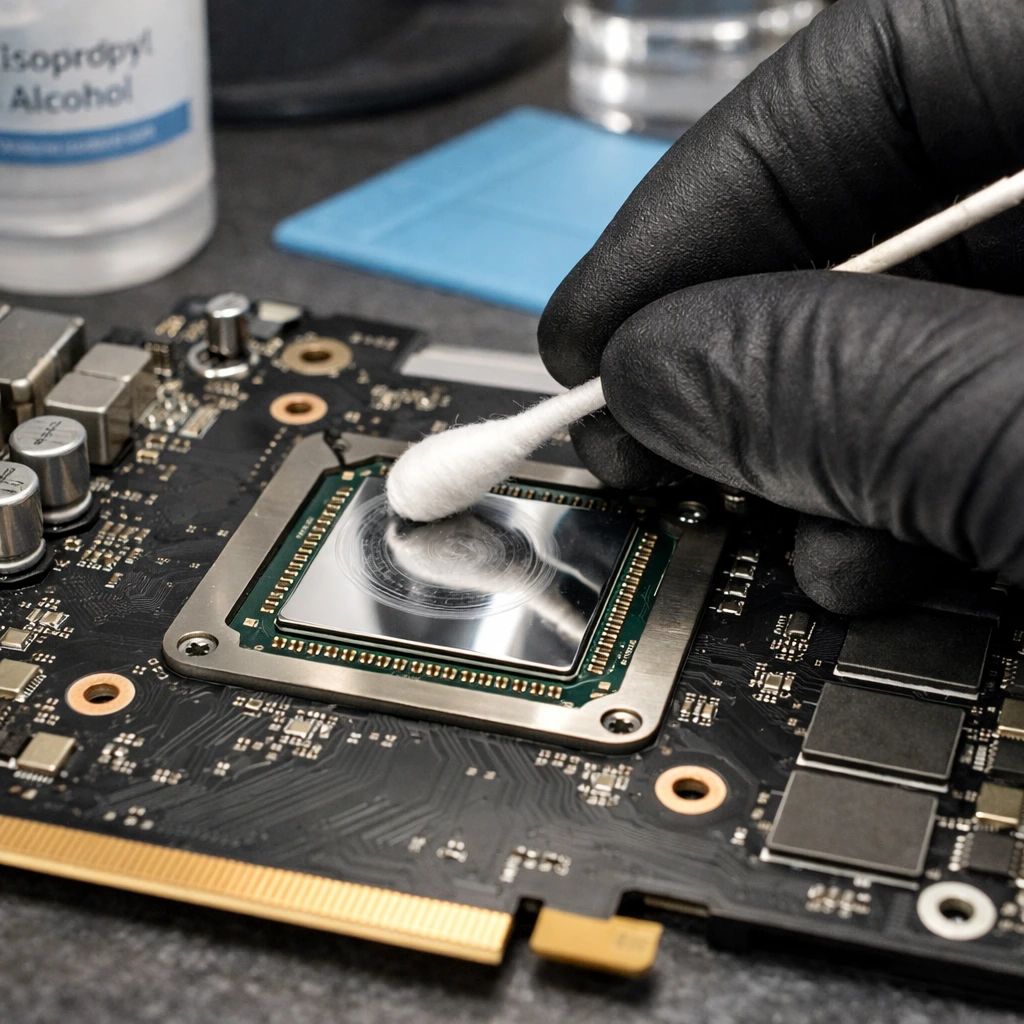
Removing Old and Crusty Paste
Dampen a Q tip with Isopropyl Alcohol and gently rub the GPU die (the shiny silver square) and the bottom of the heatsink. Be patient don’t scrape the surface with metal. The goal is a mirror like finish on both sides.
Why Direct Die Needs Full Coverage

Unlike a CPU, which has a metal lid (IHS), a GPU die is exposed silicon. You cannot use the “pea sized” method here. You must ensure 100% coverage because a single dry corner can cause a localized “hotspot” that leads to crashes. Use a plastic spreader to apply a thin, even layer across the entire die.
Dealing with Thermal Pads
Thermal pads cool the VRAM (video memory) and VRMs. If they are oily or crumble when touched, they need replacement. Warning: You must match the thickness exactly (e.g., 1.0mm vs 1.5mm). Using a pad that is too thick will prevent the heatsink from touching the GPU die, causing instant overheating.
Reassembling Your Graphics Card
When putting the card back together, start with the four screws around the GPU die. Tighten them in a star or cross pattern top left and bottom right etc to ensure the mounting pressure is perfectly even. This prevents the die from cracking and ensures the best possible thermal contact.
CONCLUSION
Maintaining your hardware isn’t just about aesthetics; it is about protecting a significant investment. Learning how to clean a graphics card safely allows you to reclaim lost performance and prevent the dreaded “thermal throttling” that ruins modern gaming experiences. Before you begin the physical teardown, it is highly recommended to check your graphics card specs on Windows 11 to confirm your specific model’s thermal pad and power requirements.
By following a structured approach—starting with external dusting and moving toward a precise repasting—you ensure that your GPU operates within its intended thermal limits. Remember, the goal is consistency. A quick blast of compressed air every three months can prevent the need for a stressful deep-clean teardown later. Keep your fans clear, your thermal paste fresh, and your “Hotspot” temperatures under control to enjoy peak frame rates for years to come.
Ready to see the results? Fire up a hardware monitor like MSI Afterburner before and after your cleaning to see exactly how many degrees you’ve shaved off.
FAQ Section
How often should you clean your graphics card?
For most users, a light dusting with compressed air every 3 to 6 months is ideal. However, if you live in a dusty environment or have pets, you may need to check for buildup every 8 weeks. A full teardown and thermal paste replacement is usually only necessary every 2 to 3 years.
Is it safe to use a vacuum to clean a PC or GPU?
No, avoid vacuums. Household vacuums generate significant amounts of static electricity at the plastic nozzle, which can discharge into your card’s sensitive capacitors. Additionally, the suction can be powerful enough to physically pull small components off the PCB or damage fan bearings. Stick to compressed air or specialized electronic blowers.
Will opening my graphics card void the warranty?
This depends on your region and the manufacturer. In the USA, “Warranty Void if Removed” stickers are often legally unenforceable due to the MagnusonnMoss Warranty Act, but brands like EVGA (historically) were more lenient than others. Always check your manufacturer’s specific policy before breaking the factory seal.
What is the best thermal paste for a GPU?
Unlike CPUs, GPUs require a paste that is resistant to “pump out” (where the heat cycles push the paste out from between the die and heatsink). Highly recommended options include Arctic MX 6, Thermal Grizzly Kryonaut, or Noctua NT H2.
Can I use 70% Isopropyl Alcohol if I can’t find 90%?
It is not recommended. 70% alcohol contains 30% water, which evaporates slowly and can seep under the GPU die or memory chips, potentially causing a short circuit if you power the card on too soon. 91% or 99% IPA is the industry standard for a reason—it evaporates almost instantly.
My GPU is still hot after cleaning what else could be wrong?
If a deep clean doesn’t fix the issue, check your case airflow. If your case fans aren’t pulling enough cool air in or exhausting hot air out, your GPU will simply recirculate its own heat. You should also check for a “bent” heatsink or insufficient mounting pressure from the spring screws.